Here are a few very brief instructions on how to get GcmWIN up and running:
- Download and run program > > http://www.qsl.net/sm3gsj/
- Create a text file of your confirmed grids and a separate file for your worked grids (grids that are waiting to be confirmed) in a text file. See my confirmed grid list below as an example:

- Open program
- At the top of the program, select the white tablet w/ pen button (see pic).
- Once you have selected the button, select the "settings" tab. Here you will set zoom, fields to display, letter/number fonts/colors, boldness of lines (alpha), and many other features. Until you get the hang of the program, you can copy my settings shown in pic.
- Next select the "source map" tab along the top and check the "built in map" box. K8YSE has some additional maps on his site for download - http://www.papays.com/sat/gridmaps/gridmaps.html You can play around and see what works best for you. The built in map has always worked fine for me.
- In this step you will tell the program what text files to pull your grid list from. Under the "plot squares" tab, select your confirmed grids in the upper box and set the color to red. Follow the same procedure with your worked grid list in the lower plot squares box, and set the plot color to blue.* Make sure that you check both boxes to plot the grids. *Note that if you do not want to have a worked list and would just like to plot your confirmed list, or vice versa, ignore the plotting the worked list step.
- Under the "home" tab select yout location.
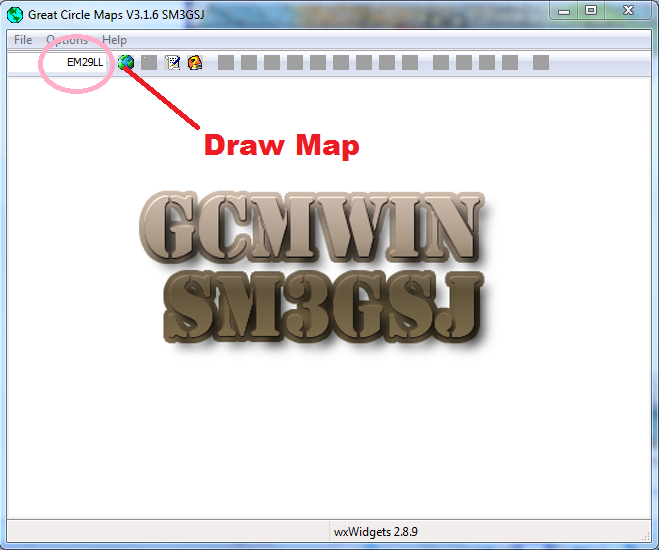
- Select the "draw map" button. It is the world button in the upper left hand corner of the program. You can also enter your grid locator in the box in the upper left hand corner of the program (pink circle)
- Last of all you need to save your gridmap. Select the save button next to the world (draw map) button.